Device and Software Used:
-
DXS-3600-32S – FW: 2.40.046
-
D-View7 – Version: 1.0.3.9
Note: Please always check our website for updates for firmware
Before commencing this setup, please check the following for D-View7 compatibility:
http://dview.dlink.com/models.php
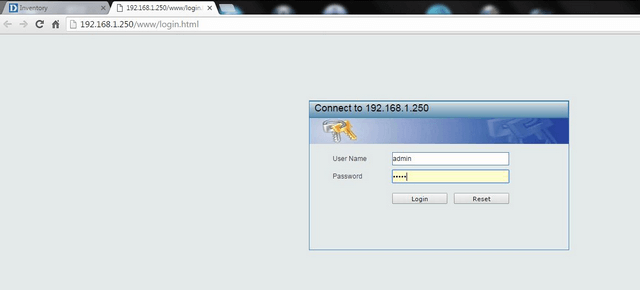
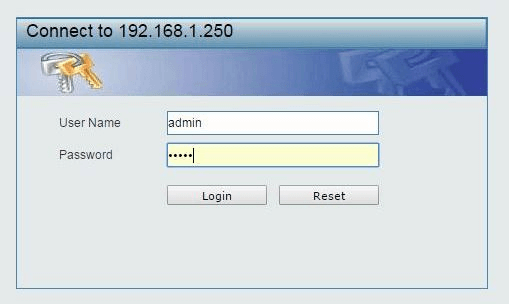
Step 1 – Login to DXS-3600-32S
 Step 2
 – Enable SNMP Global Settings
DXS-3600-32S > Management > SNMP > SNMP Global Settings
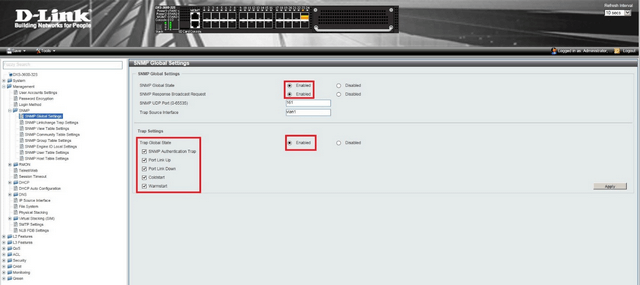
Select the
“Trap Settings” then click
“Apply”
Step 3 – Enable SNMP Linkchange Trap Settings
DXS-3600-32S > Management > SNMP > SNMP Linkchange Trap Settings
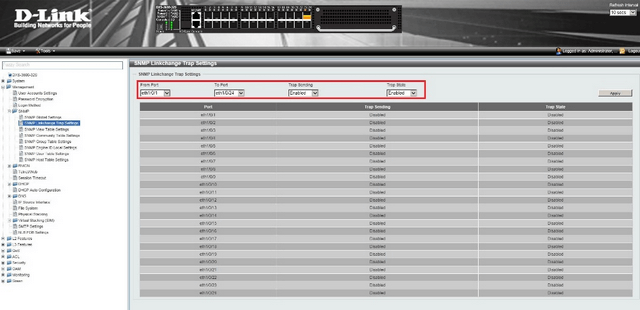
Click
“Apply”
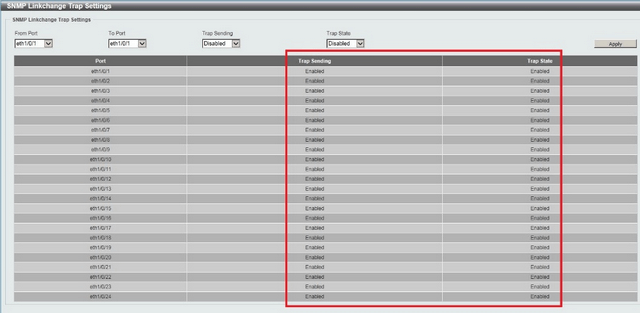
You should see the above ports and
“Traps” are
“Enabled” – This will also depend on what ports you want to enable
Step 4 – Save configuration
Save > Save Configuration

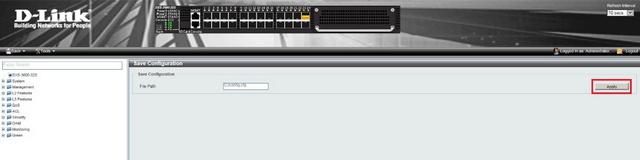
Click
“Apply”
Click
“OK”
Step 5 – Login to D-View7
 Step 6
 – Once you login, you may be presented with the following.
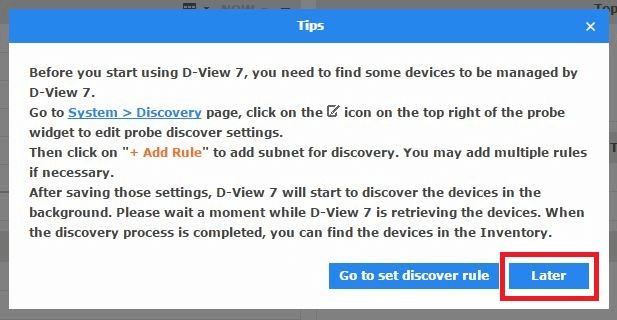
Click
“Later”
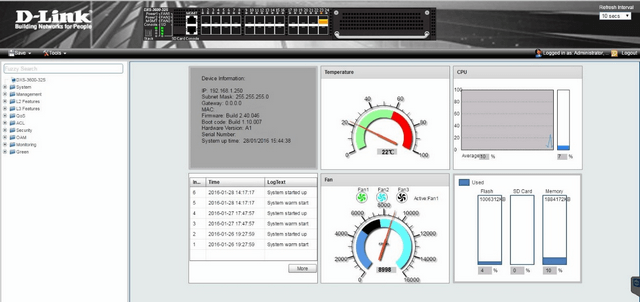
Step 7 – You should now be in
“Dashboard” view – At the moment there will not be any
“Managed Devices”
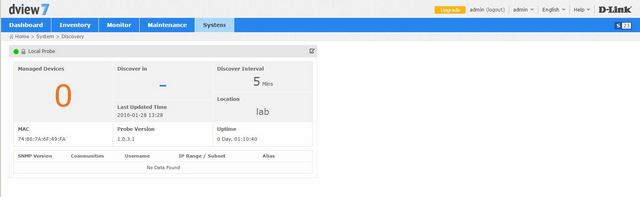
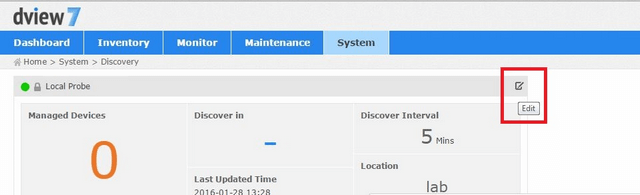
To add a rule – Click on
“Edit”
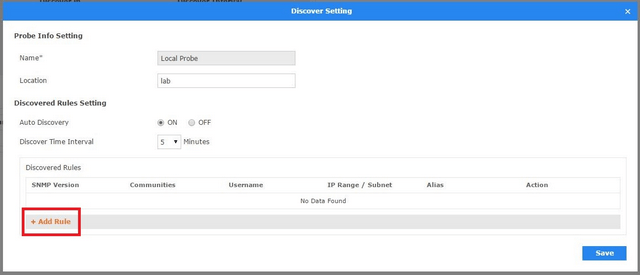
Click
“Add Rule”
Step 8 – Enter the probe settings for the device – In our example we are using the DXS-3600-32S (IP: 192.168.1.250).
Note: You may also include a wide coverage of the network, for example: 192.168.1.1 – 192.168.1.254
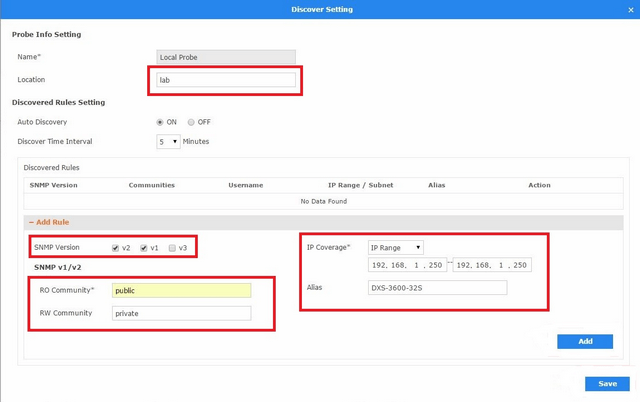
Click
“Add” then
“Save”
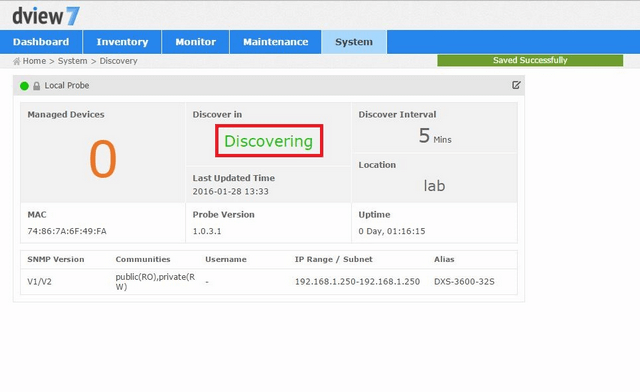
D-View 7 will now search for the device that was added in
Step 7 –
“Discovering”
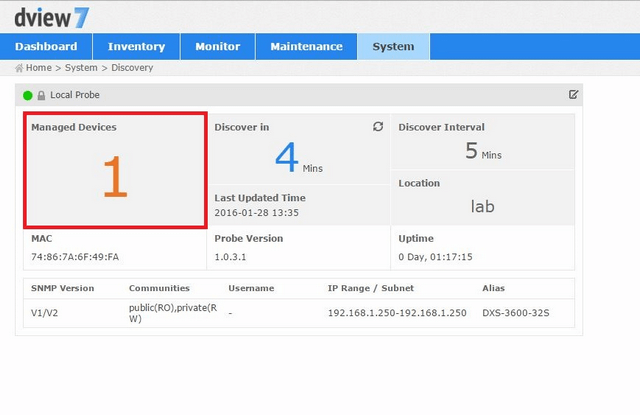
Step 9 – You should notice that the device added in
Step 7 has been added to
“Managed Devices”
 Step 10
 – To manage and connect to the device – go to
“Device View”
Monitor > Device View
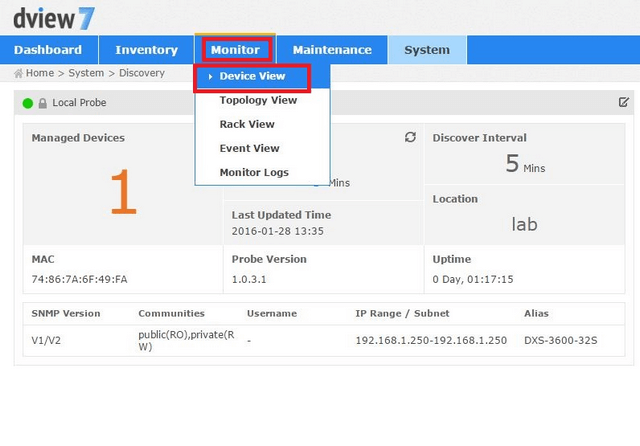
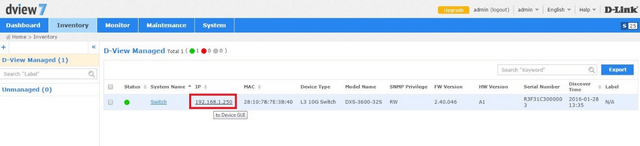
Click on the link – In our example the IP was:
192.168.1.250 – This should open another tab and you may login