You can pair up to 16 SW-A2 sensors with one SW-A1. If you want to install additional SW-A2 with your existing SW-A1, please follow the instructions below:
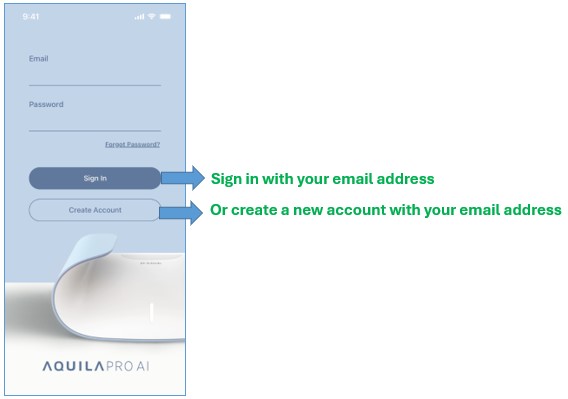
Step 1: Launch the AQUILA PRO AI app, and then log in with your D-Link account.
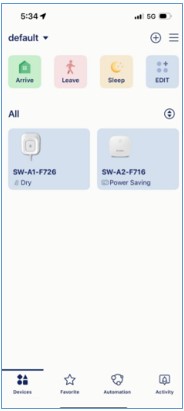
Step 2: Enter the location where the SW-A1 you wish to pair with is located.
Step 3: Tap  .
.

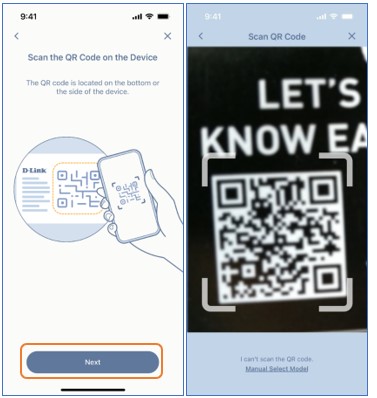
Step 4: Tap Next to scan the QR code on your SW-A2.
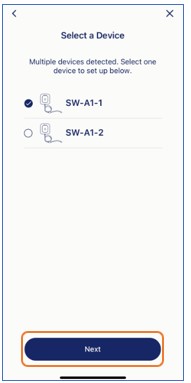
Step 5: If multiple master plug-in SW-A1 sensors are detected, choose the one that you want to pair the SW-A2 sensor with. Skip the step if you have only one SW-A1.
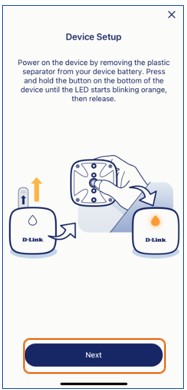
Step 6: Remove the plastic separator from the device. Press and hold the button on the device until the LED starts blinking orange. Tap Next.
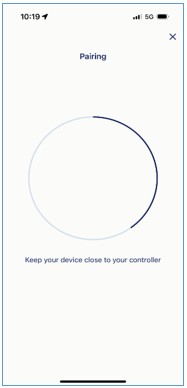
Step 7: Wait while SW-A2 is connecting to your home’s SW-A1.
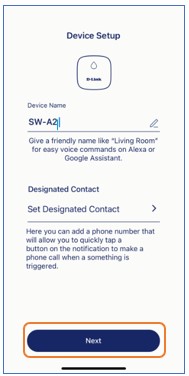
Step 8: Give your device a new name. Then, tap Next.
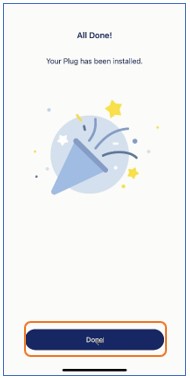
Step 9: The device has been set up successfully. Tap Done.
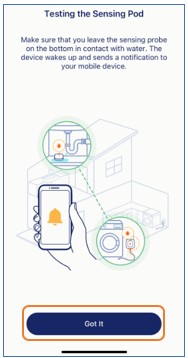
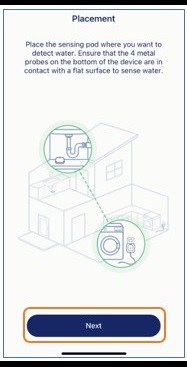
Step 10: Place the device where you want to detect water leaks. Ensure that the 4 metal probes on the backside of the device are in contact with a flat surface to sense water. Then tap Next.
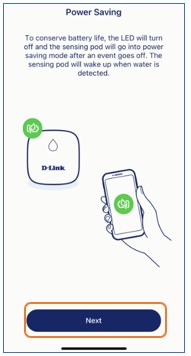
Step 11: To conserve battery life, SW-A2 will go into power-saving mode and the LED will switch off shortly. It will wake up and set off the alarm when a water leak is detected. Tap Got it to complete the setup.