This article applies to the water leak sensor kit that includes SW-A1 and SW-A2. To set up the entire kit, please follow the instructions below.
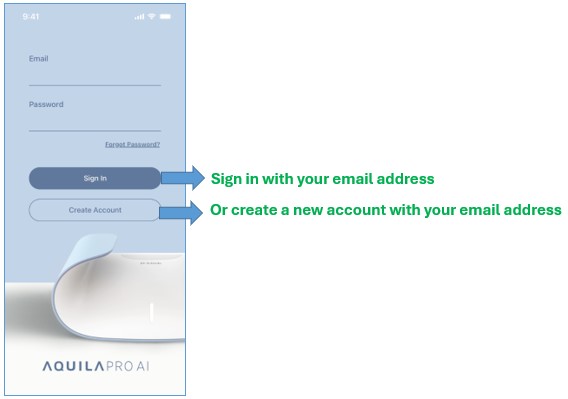
Step 1: Launch the AQUILA PRO AI app, and then log in with your D-Link account.
Step 2: Choose a Location for your water leak sensor kit. By default, you have a default location.

Step 3: Power up SW-A1 and wait for the status LED to flash orange. A prompt will appear within 30 seconds. Tap Add Device.
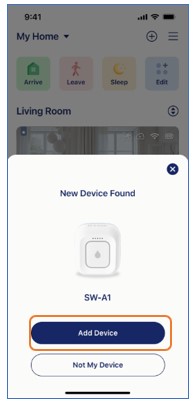
Note: Make sure your mobile device’s Bluetooth is enabled to find the device. If not automatically prompted, tap  to add the device.
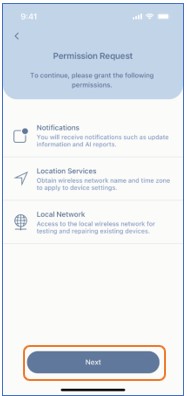
Step 4: You’ll be prompted to allow the app to use your mobile device’s Notification, Location, and Local Network. Tap Next to continue.
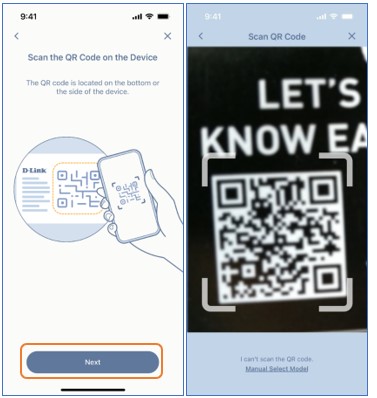
Step 5: Tap Next to scan the QR code on the side of the device.
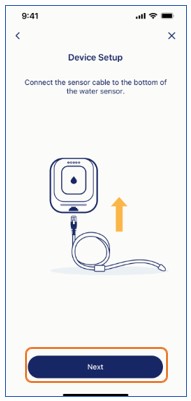
Step 6: Connect the sensing cable to the bottom of the device and then tap Next.
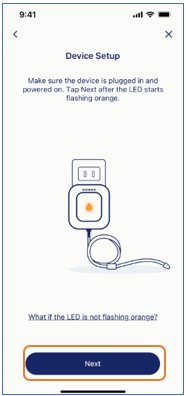
Step 7: Make sure the device is powered on and flashing orange. Then tap Next. Skip this step if you tapped Add Device from the prompt in Step 3.
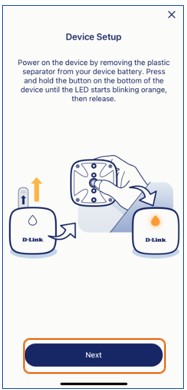
Step 8: Remove the plastic separator from the device. Press and hold the button on the device until the LED starts blinking orange. Tap Next.
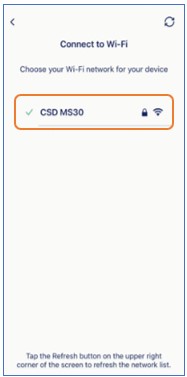
Step 9: Choose a Wi-Fi SSID network for your SW-A1.
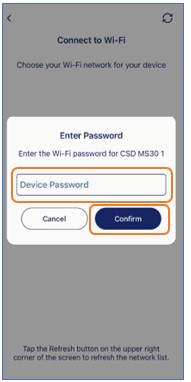
Step 10: Enter the Wi-Fi password. Then tap Confirm.
Step 11:Wait while the device is connecting to the cloud.

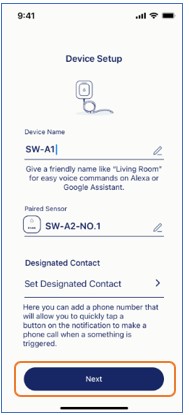
Step 12: Give your device a new name. Then, tap Next.
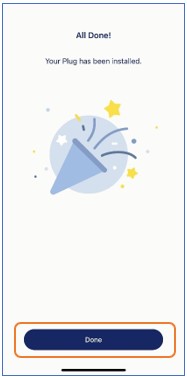
Step 13: The device has been set up successfully. Tap Done.
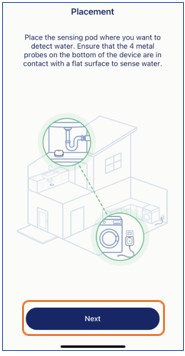
Step 14: You can now place SW-A2 where you want to detect water leaks. Make sure the four metal probes on the backside of SW-A2 are in contact with a flat surface to sense water leaks later. Then tap Next.
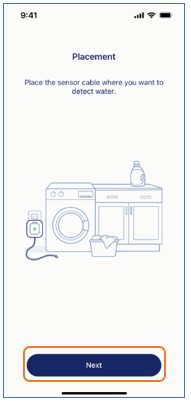
Step 15: Place the sensing cable where you want to detect water.
Step 16: To ensure SW-A2 is up and running and within the coverage of SW-A1, test each SW-A2 by pressing the button on the backside of the device.
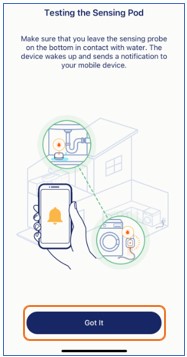
Note: If you don’t receive the push notification, please try the troubleshooting steps below:
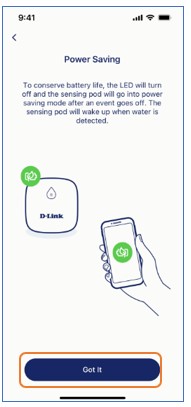
Step 17: To conserve battery life, SW-A2 will go into power-saving mode and the LED will switch off shortly. It will wake up and set off the alarm when a water leak is detected. Tap Got it to complete the setup.
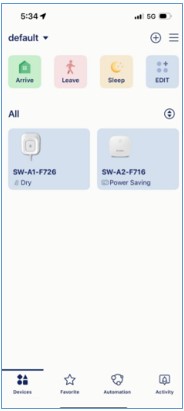
Step 18: You can now manage your SW-A1 and SW-A2.